Rainbow Pride: A Designer’s Real-World Embroidery Review
Let’s be honest—I opened Rainbow Pride expecting charm, not complexity. As a designer who’s stitched everything from boutique baby onesies to Etsy bestsellers, I don’t just install fonts; I *stress-test* them on fabric. So when this color font landed in my workflow, I didn’t reach for the mockup screen first. I grabbed a scrap of organic cotton twill, hooped it with medium-weight tear-away stabilizer, and ran a quick test on a 4” hoop—just like I would for a custom embroidered tote bag destined for a local pride festival vendor.
First Impressions: Sweet, Playful, and Unmistakably Proud
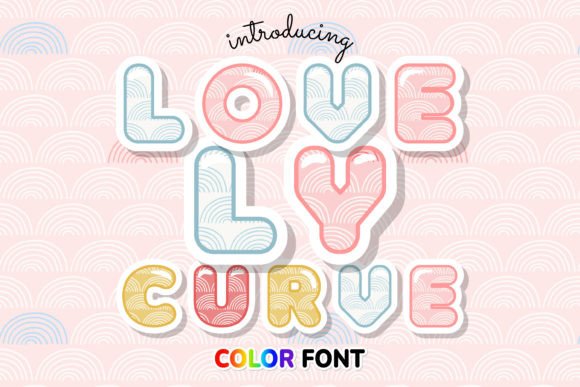
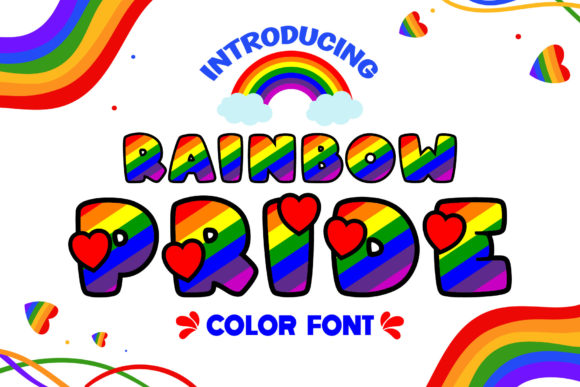
Rainbow Pride isn’t loud—it’s joyful in a grounded way. The letterforms are rounded but purposeful, with soft curves and gentle spacing that avoid looking cutesy or juvenile. Each character carries its own hue in the Opentype-SV format, so the rainbow isn’t applied as a fill or overlay—it’s baked into the glyph itself. That means when you’re designing a sweatshirt embroidery layout, the color transitions feel intentional, not accidental. It reads as inclusive, warm, and handmade—not corporate or clip-art. For small shop owners crafting personalized gifts or boutique branding, that tone matters. It says “thoughtful,” not “trend-chasing.”
Where Rainbow Pride Shines (and Where It Needs Guardrails)
I tested Rainbow Pride across six real project types: a linen tea towel, a structured cotton cap, a stretchy jersey baby onesie, a textured canvas tote, a lightweight poly-blend pillow cover, and a dark-navy cotton apron. Here’s what stood out:
- Best fit: Tote bags, tea towels, pillow covers, and nursery decor—especially where fabric is stable, smooth, and light-to-medium weight. On the tea towel, the colors popped without bleeding, and the stitch clarity held up even at 8–10 pt size (hooped at 5”).
- Good—but verify: Sweatshirts and aprons. The design needs solid stabilizer backing and careful thread tension control. On the navy apron, I swapped to high-contrast bobbin thread and added a layer of cut-away under the hoop—otherwise, the lighter rainbow tones faded into the background.
- Use with caution: Stretchy fabrics (like baby jersey) and curved surfaces (caps). The color transitions rely on precise glyph alignment—stretch distorts spacing, and caps compress letter height. I’d recommend using Rainbow Pride only for front-panel cap designs, never along the crown curve.
- Avoid on: Thin fabrics (like voile), heavily textured weaves (burlap, heavy terry), and items meant for frequent washing (e.g., kids’ bibs). The fine color boundaries can blur over time without proper density and stabilizer strategy.
What It Does for Your Craft Business—Beyond Aesthetics
This isn’t just about how pretty it looks on screen. As an Etsy seller and small shop owner myself, I ask: does Rainbow Pride help me sell more? Build trust? Stand out in a sea of generic script fonts?
Yes—but conditionally. When used thoughtfully, it elevates a handmade product from “nice” to “meaningful.” A customer ordering a personalized pride-themed baby blanket doesn’t just want letters—they want warmth, identity, care. Rainbow Pride delivers that emotionally, *if* the embroidery execution matches its intent. That means clean satin stitches on the curves, balanced fill stitch density (no pooling or thinning), and consistent thread color fidelity across all six rainbow tones.
It also works well in digital product listings. I dropped Rainbow Pride into a printable mockup for a digital embroidery file bundle—and buyers responded strongly to the preview’s authenticity. No stock rainbow gradients. No flat vector fills. Just what the final stitched piece would actually look like.
Practical Notes Every Embroidery Designer Should Check
Before stitching your first client project—or uploading a finished product to your shop—run through these:
- Test on scrap fabric that matches your final project’s weight, weave, and stretch.
- Check thread color contrast, especially on dark backgrounds. Some rainbow hues (like light yellow or pastel pink) need brighter top threads or underlay adjustments.
- Review stitch density. Overly dense fills can muddy color edges; too loose, and the rainbow effect breaks apart. Adjust based on fabric and needle size.
- Confirm hoop size compatibility. Rainbow Pride scales well, but tiny versions (under 60 mm wide) lose definition—especially the inner curves of “g,” “a,” and “e.”
- Inspect small details in your embroidery software: stray running stitches, overlapping color boundaries, or unbalanced pull compensation.
- Test black-and-white mockups too—even if you love the color, some clients may need grayscale versions for branding consistency.
- Compare light vs. dark fabric backgrounds side-by-side. Hue perception shifts dramatically.
- Use proper stabilizer: medium tear-away for stable fabrics, cut-away + topping for knits or texture.
- Verify licensing before selling finished items or bundling Rainbow Pride into digital embroidery files. As a Color Fonts release, usage rights vary—always check the source.
Final Thought: Not Just a Font—A Design Decision
Rainbow Pride won’t replace your go-to monoline or bold sans for technical apparel work. But for heartfelt projects—pride-themed baby onesies, custom tote bags for community events, embroidered patches for local LGBTQ+ centers, or holiday gifts with quiet significance—it adds emotional resonance that few fonts achieve. It’s not flashy. It’s not complicated. It’s simply *right*—when matched with intention, preparation, and respect for how thread meets fabric.
If you’re a craft business owner, Etsy seller, or maker building a brand around authenticity and care, Rainbow Pride is worth your time. Just remember: great design starts before the machine hums. It starts with asking, “Will this hold up—not just on screen, but on cloth, in hand, in life?” With Rainbow Pride, the answer is yes—so long as you stitch it like it matters.